I am offering actual travel experiences from me, and other travelers that have had similar encounters. I will also offer reviews, tips, and travel advises on more than fifty countries in the world. This is just getting started, so expect to learn more as I cover more countries. I want to travel to more countries because I am not ready to quit yet. I will tell you the good and bad about each country, so you can be sure of getting honest reviews from me.
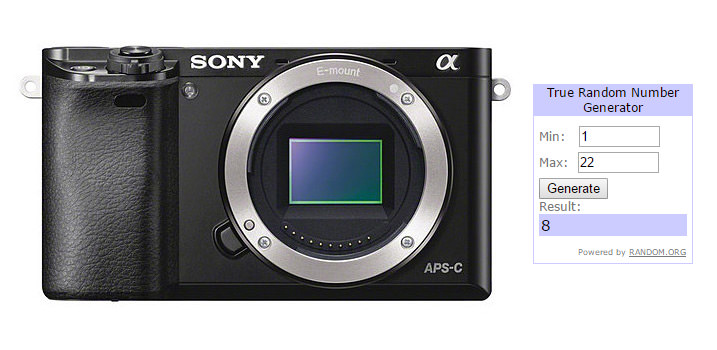
Recently we’ve hosted another giveaway and this time it was for those who previously bought our Level 1 Photography Basics Course. In our post back in December of 2015, we asked those who have purchased the course to write honest reviews about our course for a chance to win the Sony A6000. It looks like few people were actually interested in this camera, because only 22 people actually participated in this contest, making the chance of winning 1 in 22. Oh well, I guess it is good for those who participated!
After running a random number generator from 1 to 22, I got number 8 as the result:
And the reviewer #8 turned out to be Alessio Mangone. Congratulations Alessio, I will be contacting you tonight!
Big thanks to everyone who participated. We will be announcing another contest tomorrow, so stay tuned. This time it will be open for everyone!
I still remember the first time I met Elia Locardi. I was busy passing through the vendor exhibits of the Photo Plus show in New York, when I saw a small crowd of people watching a presentation. What attracted me was not the crowd, because people were everywhere – it was the large LCD screen with some stunning imagery. At first, I stood there and paused for a moment, enjoying the fine scenery in front of my eyes and as I continued to hear the story behind each photograph, I came closer to the seating area and sat down. It was the Fujifilm booth and the young man with long blonde hair giving the presentation seemed to be very enthusiastic about his story and his technique of blending photographs. I did not even notice how quickly time went by – I probably sat there for at least 30 minutes, getting myself immersed into the presentation. At the end of the presentation, most people left and I just sat there. I really wanted to meet the man face-to-face and get to know him. As I started talking to Elia, I realized that he was not just an amazing photographer, but also a very down to earth guy. I also got to know his equally friendly and welcoming wife Naomi Locardi, who was there to support her husband every step of the way. At the end of our chat, I had a feeling that I had known Elia for years: that’s the type of a person he is. Since then, I have met Elia a number of times and I have been wanting to post about Elia and his work at Photography Life. Sadly, due to Elia’s crazy busy schedule and continuous travel all over the world, that project never materialized, but I am still hopeful that he will share some of his experience with our readers (Elia, it is never too late!). Fast forward to last July, when I found out that my good friends Patrick Hall and Lee Morris at Fstoppers.com collaborated with Elia Locardi in creating a brand new tutorial called “Photographing the World: Landscape Photography and Post-Processing“. Having seen some of the tutorials that Patrick and Lee produced in the past, I knew this one was not going to disappoint.
With 15 lessons and over 12 hours of video content, this tutorial was one of the most complete and detailed ones I have seen to date. My biggest problem, however, was finding time to watch the content. I really wanted to sit down and watch through each video without skipping through, which was a huge challenge on its own, since finding time has been really tough, considering all the fun projects I have been working on. John Bosley and I were also busy working heavily on releasing our own first video course, the Level 1 Photography Basics, so all my plans on personal development and learning from Elia’s tutorial got postponed. Yesterday, I finally finished watching the last video and I have to admit, I regret not doing it earlier.
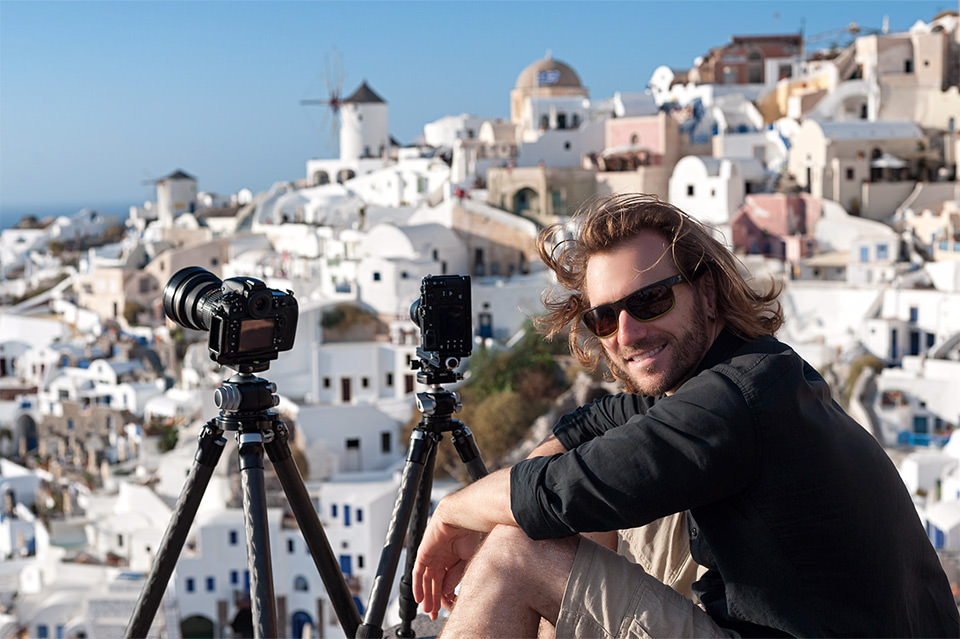
Elia Locardi
Throughout my photography journey, my biggest challenge has always been Photoshop. I know Lightroom pretty well and that’s what I use primarily for editing my photos, but when it comes to Photoshop, I cannot similarly cruise through it with ease. And I guess that’s pretty much a given for many of us, since Photoshop is complex software, giving the flexibility to achieve the same result using many different tools. That’s why many of us get so easily confused with it – we see one tutorial that shows the best way to do something, then we see another, which uses a completely different technique, leaving us wondering which one is better. But what’s worse, we easily forget both and then after a while, try to remember the steps, failing miserably to replicate them. Sounds familiar? Well, you are not alone, because I too have exactly the same challenges.
While Photoshop masters that work with the software on a daily basis can easily find solutions to every problem, many of us are not at that level, continuously struggling with establishing specific workflow steps. So if someone offered me a solution, which covers specific techniques in detail, allowing me to go back and re-learn the same steps, serving as my “reference material” in the future, I would be glad to pay for such a solution. And that’s exactly what Elia Locardi does in this tutorial: he shares his specific methods of post-processing, starting out with some relatively easy steps, then moving on to more advanced techniques towards the end of the tutorial. And for me, that’s the biggest value I got out of this tutorial – post-processing in Photoshop.
Here is the 12 minute intro to the course that Elia and Fstoppers put together:
Every lesson in this tutorial is organized in two parts. The first part shows Elia on location, whether it is the beautiful winter landscape in Iceland, or the colorful sunsets of New Zealand. Elia first showcases the location, then talks about his camera techniques, talks about composition, why he framed the subject that specific way and how he plans to photograph it. While at it, he also talks about what he is planning to do in post-processing with the photo, which is always important, as it allows one to visualize the end result before the image is captured. Then, the video continues with the second part, where he takes what he has done in the field into Lightroom, performing some basic adjustments before the image is finally taken into Photoshop, where advanced adjustments are made.
Production Quality
When it comes to production quality, this tutorial is a visual stunner (as the intro video above proves). After watching the footage, I can honestly say that very few can actually deliver quality of work that is this good. Patrick and Lee at Fstoppers having been making video tutorials for several years now. While I have seen some of the content they have produced in the past, I can tell that they have learned a lot along the way – this tutorial looks far better than anything they have done so far. Throughout the lessons, you will see amazing drone footage, all kinds of timelapses and other interesting material to not only supplement the tutorial, but also give you the feel of reality and presence. Patrick and Lee carried tons of equipment with them on every scene to make this happen and it definitely paid off.
In addition to this, you will also get great “behind the scenes” (BTS) videos, which are great to watch when your brain is completely fried. Here is the first BTS episode:
As you can see, it is really funny and entertaining. You will find 8 of these BTS videos – they are all included as part of the tutorial.
Let’s now go over some of this tutorial and see what value you might potentially find in it and understand whether this tutorial is for you or not.
What is Covered in The Tutorial
With a total of 12 hours, there is obviously a lot of material to cover. Below is the type of education you will find throughout the tutorial:
Photography Basics (ISO, Shutter Speed, Aperture, White Balance, etc)
Overview of best lenses and gear for Landscape photography
Tips for better composition
Focus Stacking and maximizing depth of field
Bracketing and multi exposure blending
Graduated Neutral Density Filters
Solid Neutral Density Filters
Blurring water and skies with long exposures
Building Panoramic images
Dealing with Sun Flare
Understanding Light (Golden Hour, Blue Hour, Sunrise and Sunset)
Using lens compression to your advantage
Removing and adding the human element into your images
Polarizers
Bracketing and multiple exposure blending
RAW Processing and Editing Workflow
Color correction and image adjustment
Basic object removal, painting, and cloning
Masking and Layering Techniques
Introduction to Luminosity Masking
Time Blending (combining exposures shot at different times)
Tutorial Material and Who It is For
The tutorial is organized into a total of 15 lessons. The first lesson starts out with gear, where Elia spends a little under 40 minutes talking about his gear: cameras, lenses, tripods, filters and other accessories he uses in the field. He goes over his camera choices, which includes the Nikon D810 and the Fuji X-T1 and spends some time explaining why he uses specific lenses for both camera systems.
The second lesson is called “Introduction to the Basics”, where Elia gives a crash course to the camera and exposure basics. Under 50 minutes, this crash course is in no way intensive and it is not meant to be – Elia only goes over the most basic things, to serve more as a quick reference for those who are starting out. To be honest, I personally think that this lesson should have been excluded from the tutorial, since basics really don’t belong with the rest of the material, which is more advanced in nature. It feels like an afterthought, more like a filler than anything else – perhaps Fstoppers and Elia wanted to make the tutorial appealing for everyone, not just advanced photographers. At the same time, perhaps it is not a bad idea to start out with some basics, so that the person does not immediately feel intimidated with the learning curve. Keep in mind that I am writing this based on my experience, which is obviously going to be different than everyone else’s. Still, if you feel like you know your camera and your ways around exposure, I would skip the first two lessons and get into the “meat”.
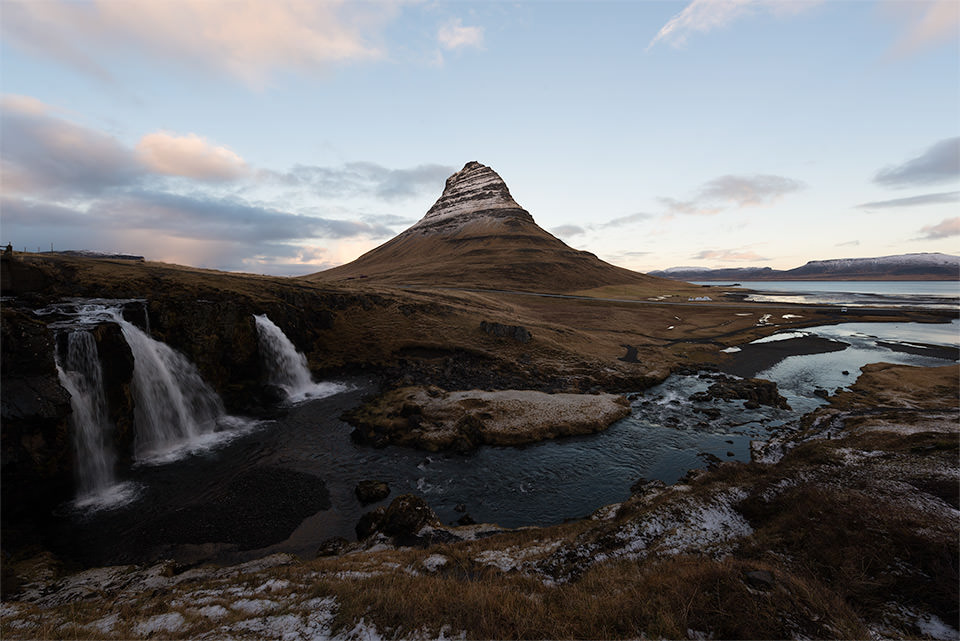
The whole point of this tutorial is to show real-life shooting environments, then take photographs into post-processing software in order to work the way through the final image. And that’s where the meat is! The first real lesson starts with the beautiful and iconic Kirkjufell mountain in Iceland. Elia starts out by pointing out the location, talking about its features, best angles and viewpoints from where to photograph, then shows what compositions work best with the mountain and the flowing waterfalls. It is a pretty easy lesson to cruise through, because Elia kept it fairly simple – a great way to dive into the tutorial. Once he takes the photos he wants, he then moves on to the post-processing part. Again, Elia starts out easy here – he first explains some of the basic sliders in Lightroom, then moves on to explaining his workflow and why he does things the way he does.
Although anyone can easily go through this material, don’t expect any foundation material in this lesson – the pace and the learning curve might be a bit too fast for those who have never used Lightroom before. With each lesson, Elia only covers what works for that particular photo, so you won’t get multiple case scenarios for each slider and feature of Lightroom. Again, that’s not necessarily a bad thing – this tutorial is not meant to be a Lightroom or a post-processing basics tutorial in the first place. From there, he takes the photo into Photoshop and also does a quick crash intro into the specific tools, plugins and functions he uses. I would highly recommend to pay close attention to the first few lessons, because if you fast forward to other lessons, you will have a hard time understanding and following the flow.
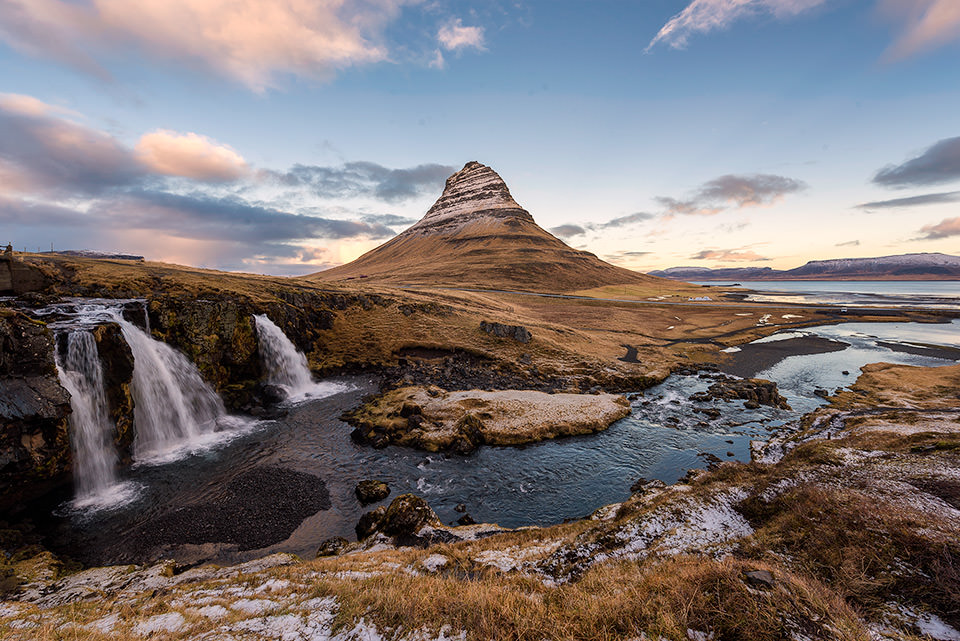
Here is the before and after of the image from the first lesson:
You will find plenty of images like this in every video. And the beautiful thing is – Elia was kind enough not only to provide the original RAW files, but also the final Photoshop PSD files, so that you can see every step of post-processing that he went through. I can tell you that very few photographers out there are willing to provide such material with each chapter!
The rest of the material is built like a step ladder – things get more complicated towards the end, particularly when it comes to post-processing. And that’s what I really liked about this tutorial, as it really builds you up. In between, Elia also goes over specific techniques that he uses for both photographing the subject and post-processing. Lesson 4, for example, is about using the shooting technique for stitching panoramas, while Lesson 11 is all about focus stacking and why at times it is a necessary technique to get every object in the frame looking sharp.
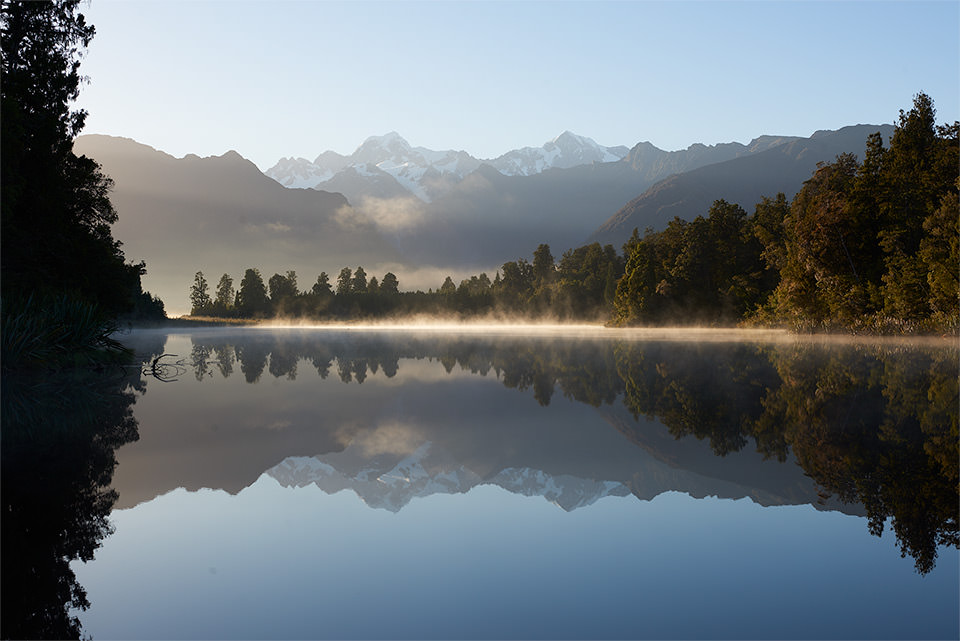
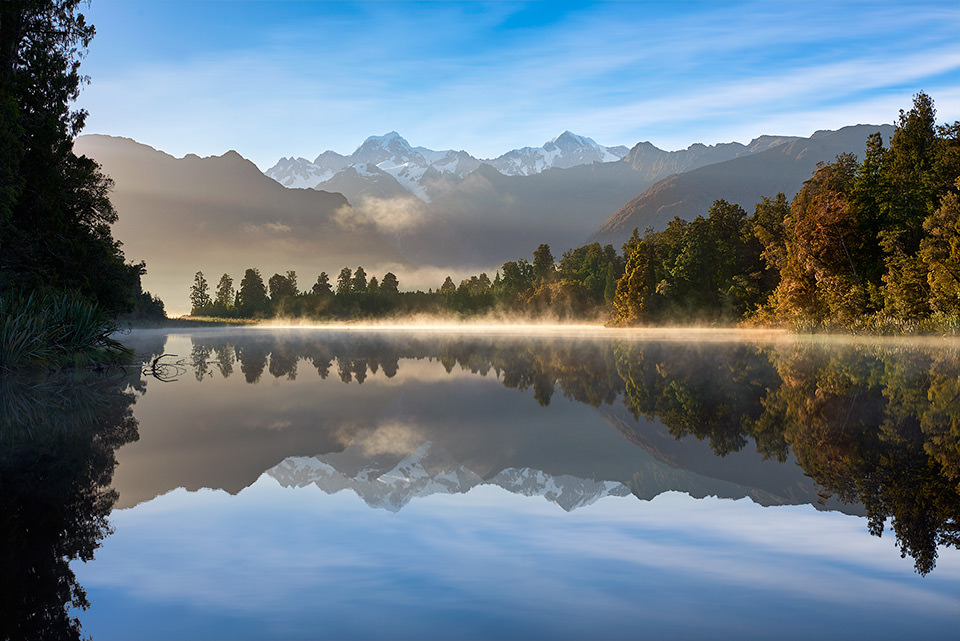
One lesson that slightly bothered me and it might bother many others as well, was Lesson 12. In this lesson, Elia photographs Lake Matheson in New Zealand and after several unsuccessful attempts with the conditions, only manages to capture an image of the lake and the mountains with a very bland-looking sky. He then uses an image from a previous tutorial that had a blue sky with some cloud coverage, and copy-pastes the sky into the Lake Matheson image, demonstrating ways to make it work through luminosity masks in Photoshop. Here is the before and after he presents in the video:
I will be honest, while I strongly believe in the importance of post-processing and I don’t mind using techniques to blend several exposures together to create a single image, I personally choose not to go the composite route that involves taking components from other irrelevant images and blending them together. For me personally, it takes away the challenge of photographing landscapes. If it gets so easy to just copy paste skies, why waste my time and revisit the same location over and over again for that one perfect moment where everything aligns? Having been to so many places dozens of times and coming back with nothing, only to challenge myself to go back and try again, I know that getting unique shots is not easy. If in the back of my head I can make an assumption that I can just make it look beautiful in Photoshop, it takes the precious part of the challenge and the experience away. I know that artists are free to use whatever tools they want to make a beautiful work of art, but I personally try to limit my tools, especially when it comes to manipulating nature. And if I do do it, I try to make it obvious, or at least let my viewer know that it is a manipulated / composite image. To me, that’s what differentiates a photograph vs art. I want to see reality and I want to believe that the scene was indeed as beautiful as the photographer shows. But if in the back of my head I am left with a thought that the image is not real, it takes away the feeling of joy and happiness I experience when looking at such photographs. I don’t mind images with added contrast, saturation and boosted colors, but if an image looks fake, or worse yet, looks real while being fake, it just does not work for me. In situations like this, I would rather call myself a photographer than an artist…
Now that’s not to say that Elia does such kind of manipulation to all of his images – I am not trying to mislead my readers into such thoughts. While Elia is certainly known for blending scenes at varying times of the day to create a beautiful composite, he practically never heavily manipulates his photographs. Lesson 12 is more of a demonstration of Photoshop capabilities – he leaves it up to the viewer to decide whether it is appropriate to use such techniques.
The most important take away from me personally in this tutorial, is the importance of post-processing, especially when it comes to working on those “portfolio shots”. I often come back with beautiful images, but my lack of expertise in Photoshop leaves my images looking unfinished. I know there is something missing and I know I want to come back to it in the future, but I rarely ever do. Part of it has to do with lack of time – I shoot a lot, often with all kinds of different gear. If I work for more than a couple of minutes on each image, my readers will be seeing a lot less of my photographs and the content that goes along with them. At the same time, I do realize the importance of highlighting my capabilities as a photographer and educator to my readers, so I do have to step up and continue learn and enhancing my skills.
Elia’s tutorial has helped me tremendously in understanding some of the functions and tools within Photoshop. While I could not immediately put what I have learned into practice, as it would take a lot of trial and experimentation, I am planning to go back, re-watch the videos and continue my learning process.
Summary
If you find yourself stuck where you are at, I would highly encourage you to look into this tutorial. It will help grow your skills, as it did for me. It will not only blow you away with its eye-candy footage, but also give you a tremendous opportunity to learn how to photograph and post-process landscapes. At $300, it is not a cheap tutorial to buy, but in my opinion, it is worth every penny, as you will get a lot of value out of it in the long run. I have seen many different tutorials in the past that cost even more than this one and I will be honest – very few of them were actually worth the investment. Is it perfect? No, it is not. As I have pointed out, there were some things I did not like about it. There were also a couple of minor education errors that I pointed out to Elia. But that’s not a big deal, as none of them were really critical. I have seen far more errors and misconceptions from other photographers in other educational material. We are all humans and we all make mistakes (and that first and foremost includes myself!).
Overall, I have really enjoyed this tutorial from Elia and Fstoppers. I would say that it is one of the best video tutorials I have seen to date, particularly when it comes to post-processing landscapes. While I personally would not recommend it for beginners, I believe those who know how to use their gear and have their basic ways around Lightroom and Photoshop will get tremendous value out of the “Photographing the World: Landscape Photography and Post-Processing” tutorial. Kudos to Elia and Fstoppers for making this excellent video.
The following branded content post is brought to you by Airportag. As a new brand ambassador for this company, I’m excited to introduce these new products to you! I’m sure you’ll fall in love with them as much as I have. Also, some of these links are affiliates, which, if you purchase, will earn me a small commission at no extra cost to you.
One of the best things about settling down is getting to decorate a home with items that represent my my travels. I’m moving in five days (eek!) and I’ve been perusing the web nonstop for unique items that will reflect my interest in travel.
I’ve never been much of a souvenir buyer (my photos are my souvenirs!) so in some ways, I’m starting with a blank canvas.
Here’s the thing — I don’t want my place to look like a giant travel museum. I’m multidimensional — we all are. Travel should be just one of a variety of interests and curiosities that we cultivate.
The solution? Primarily subtle decor with a few well-placed, quirky travel pieces. I think that the kitchen and bathroom in particular are the best places to go a bit crazier than usual.
I’ve been working with the company Airportag over the past few months, and in addition to cool travel shirts, they also have a lot of cool travel and airport code-themed quirky accessories for your home.
Here are some of my favorite home decor items that you can get on the site:
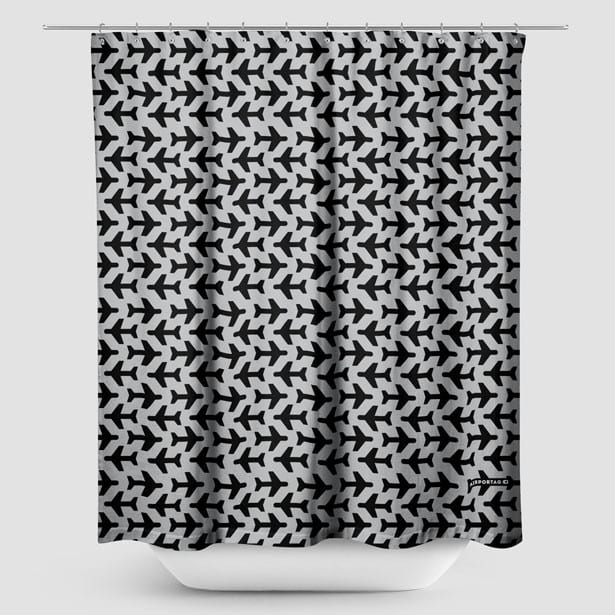
Airplane Shower Curtain
I am kicking myself that I didn’t see this before buying my own shower curtain for my all-black-and-white bathroom. This shower curtain strikes all the right notes — it’s fun, it’s patterned, it’s black and white! (They also have it in pink and blue.)
(Also going up in that bathroom, eventually? A black and white map of Bangkok and a black and white photo I took of the superkilen in Copenhagen.)
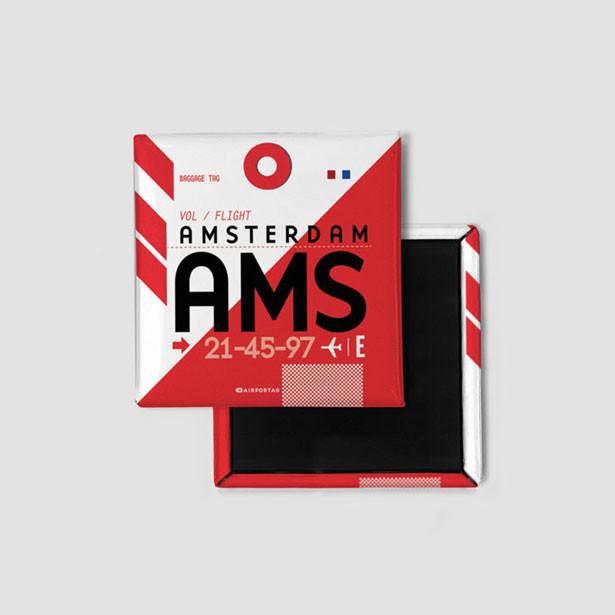
Refrigerator magnets are one place where I think you don’t have to worry about subtlety — feel free to go crazy! I think a collection of magnets from your favorite cities would be nice, and this Amsterdam magnet would be nice paired with a few others.
These also make great cheap, low-key gifts for friends who are into travel.
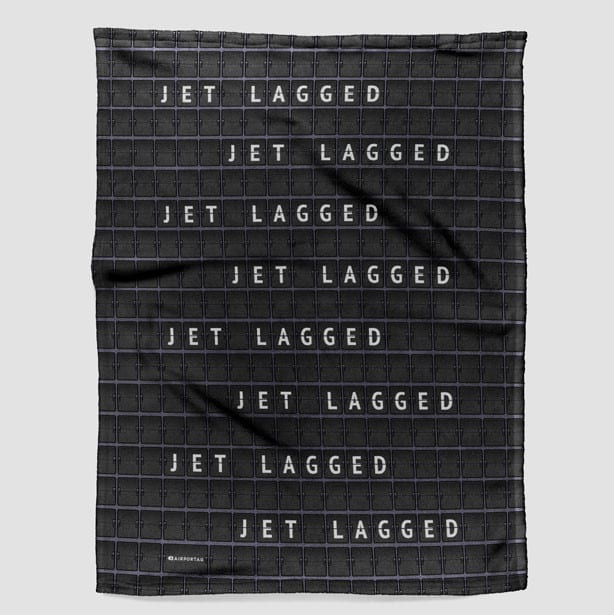
I can’t tell you how many times I’ve come home from Europe and have ended up sitting on the couch, wrapped in a blanket, just trying to keep my eyes open past 10:00 PM. I love this jet lagged blanket because it’s black and white and recalls the designs of old-fashioned departure boards with a modern,tongue-in-cheek saying.
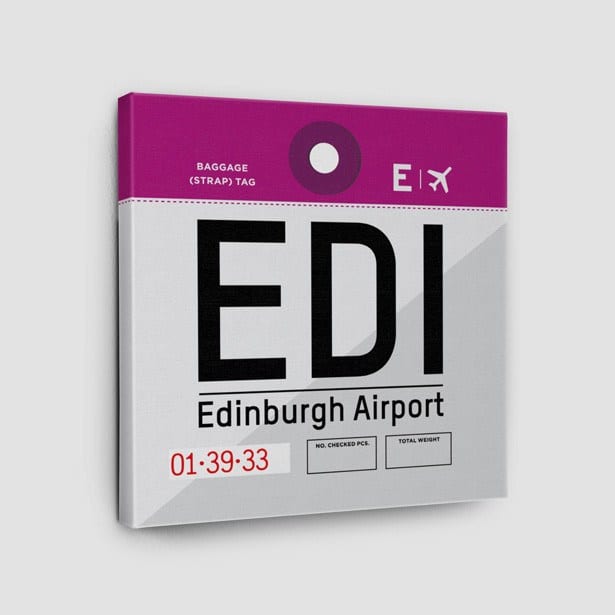
I love canvases because they’re lightweight, tough, and you don’t have to worry about framing them. I saw this Edinburgh canvas and fell in love with the purple color! Not to mention that Edinburgh is one of my favorite cities.
I think these would look best stacked up in a row of three. Choose three of your favorite cities, or three cities with a theme. Here’s an example:
I think they’d look good in a hallway. Lucky for me, my new place has a long, gallery-style hallway leading to the bathroom!
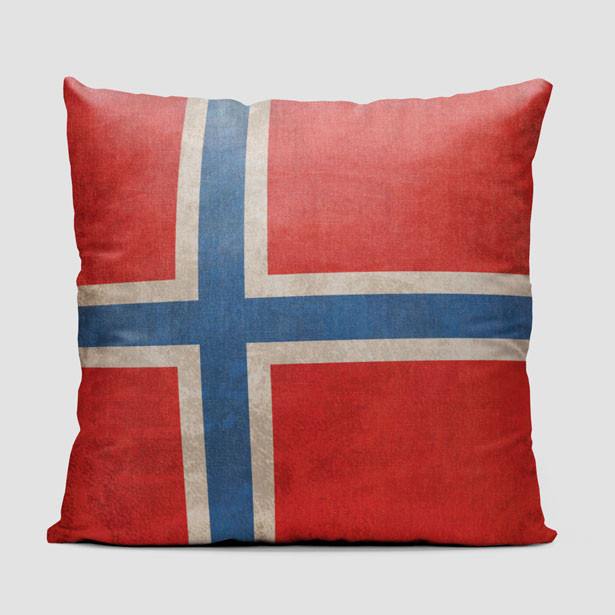
Pillows are one place in the house where I wouldn’t want to go too outlandish — but one matching, well-chosen pillow on an otherwise solid couch is a good mark of style. A Union Jack pillow is classic, but if that’s a little too Spice Girls for you and you still like those colors, how about the Norwegian flag? It would look great on a navy or blue sofa.
Note that these are all pillow covers. You’ll need to buy a pillow separately.
Don’t overlook posters as an adult — just make sure you frame them, ideally with a matted frame! College is over and we’re definitely done with the dorm look. (My dorm was an homage to Paris, Paris sunsets, Paris black and white photography, and the movie Moulin Rouge. My first roommate hung up printouts of U2 and Dave Matthews lyrics. It…was not a fit.)
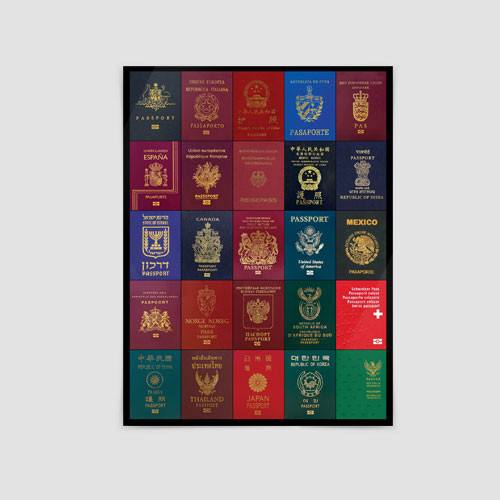
I really like this passports poster — and it also gives you an opportunity to appreciate your privilege for having a passport that gets you to most places in the world without much trouble.
Mugs are my favorite way to go crazy with decor. I love having friends over and picking out a mug for them based on their personality! (You should see people’s faces when I offer them my “I had sex with an elf in Iceland” mug.)
This way, you can subtly suggest cities that you think your friends would love visiting. You can even take it further — serve tea only in a London mug and coffee in a Mexico City mug.
Decorating my new place is going to be a long process — I might get the bathroom done quickly, but it will be months before I’ll be able to show you the finished product. Anything else you suggest? I’d love to hear it!
Which of these items would you want in your home?
from Adventurous Kate http://www.adventurouskate.com/seven-quirky-travel-accessories-for-your-future-home/
Mystery plane illness at Heathrow prompts calls for air quality warning systems in cabins
from Travel news http://telegraph.feedsportal.com/c/32726/f/568425/s/4d3a6c03/sc/7/l/0L0Stelegraph0O0Ctravel0Ctravelnews0C12130A6440CToxic0Ecabin0Eair0Ecampaigners0Ecall0Efor0Edetectors0Ein0Eplanes0Bhtml/story01.htm
Has Super Bowl 50 inspired you to visit the US west coast? Read on for ideas of the best things to do in the nearest big city, San Francisco
from Travel news http://telegraph.feedsportal.com/c/32726/f/568425/s/4d3a64f1/sc/28/l/0L0Stelegraph0O0Ctravel0Cdestinations0Cnorthamerica0Cusa0Csanfrancisco0C12130A3650CSuper0EBowl0E50A0EThe0Enine0Ebest0Ethings0Eto0Edo0Ein0ESan0EFrancisco0Bhtml/story01.htm
Are cruise ships safe from the threat of terrorism? Telegraph Travel's cruise expert offers advice
from Travel news http://telegraph.feedsportal.com/c/32726/f/568425/s/4d3a64f9/sc/8/l/0L0Stelegraph0O0Ctravel0Ccruises0C121293940CAre0Ecruise0Eholidays0Esafe0Efrom0Eterrorism0Bhtml/story01.htm
Travel-related programmes this week feature Michael Wood's continuing series in China and Michael Portillo's new series of rail journeys in America
from Travel news http://telegraph.feedsportal.com/c/32726/f/568425/s/4d38b3b1/sc/13/l/0L0Stelegraph0O0Ctravel0Cartsandculture0C10A5479730CTravel0Eprogrammes0Eon0ETV0Bhtml/story01.htm
Things to see and do this weekend, from stargazing in Northumberland to the London International Mime Festival
from Travel news http://telegraph.feedsportal.com/c/32726/f/568425/s/4d38abe3/sc/13/l/0L0Stelegraph0O0Ctravel0Cdestinations0Ceurope0Cuk0C1160A480A60CWhats0Eon0Ethis0Eweekend0Bhtml/story01.htm