This summer, I’ve been planning lots of special day trips and short getaways from Manhattan. One of my biggest priorities? The North Fork of Long Island.
Long Island extends eastward from Brooklyn and Queens and eventually forks in two. The South Fork gets most of the hype and vacationers — it’s home to the Hamptons and beautiful beaches.
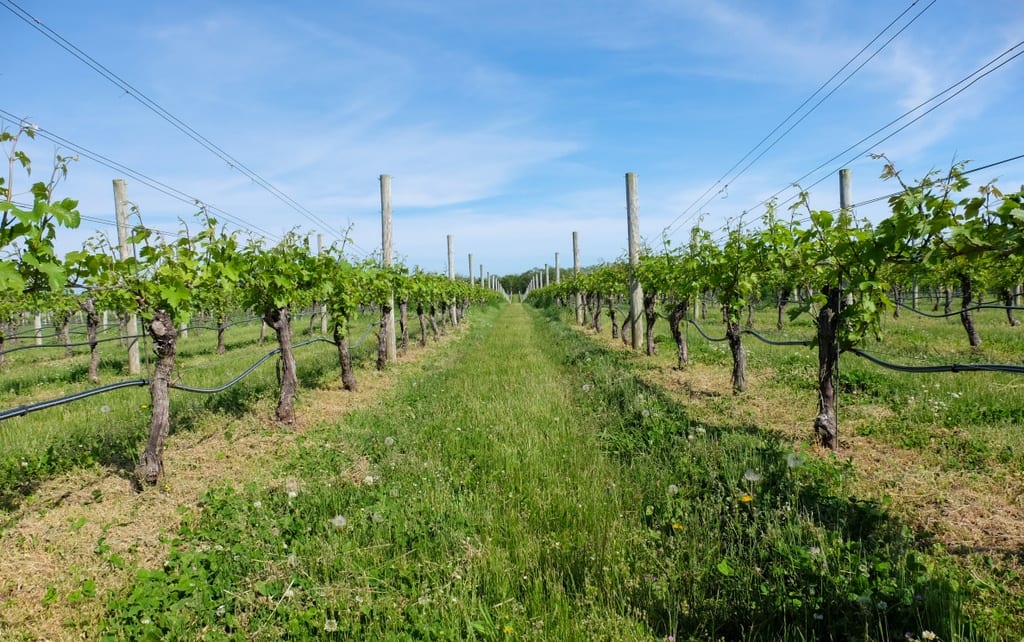
The North Fork, however, is all about WINE. And food. And country goodness.
My girls and I didn’t waste any time. We planned our first summer day trip for Memorial Day weekend.
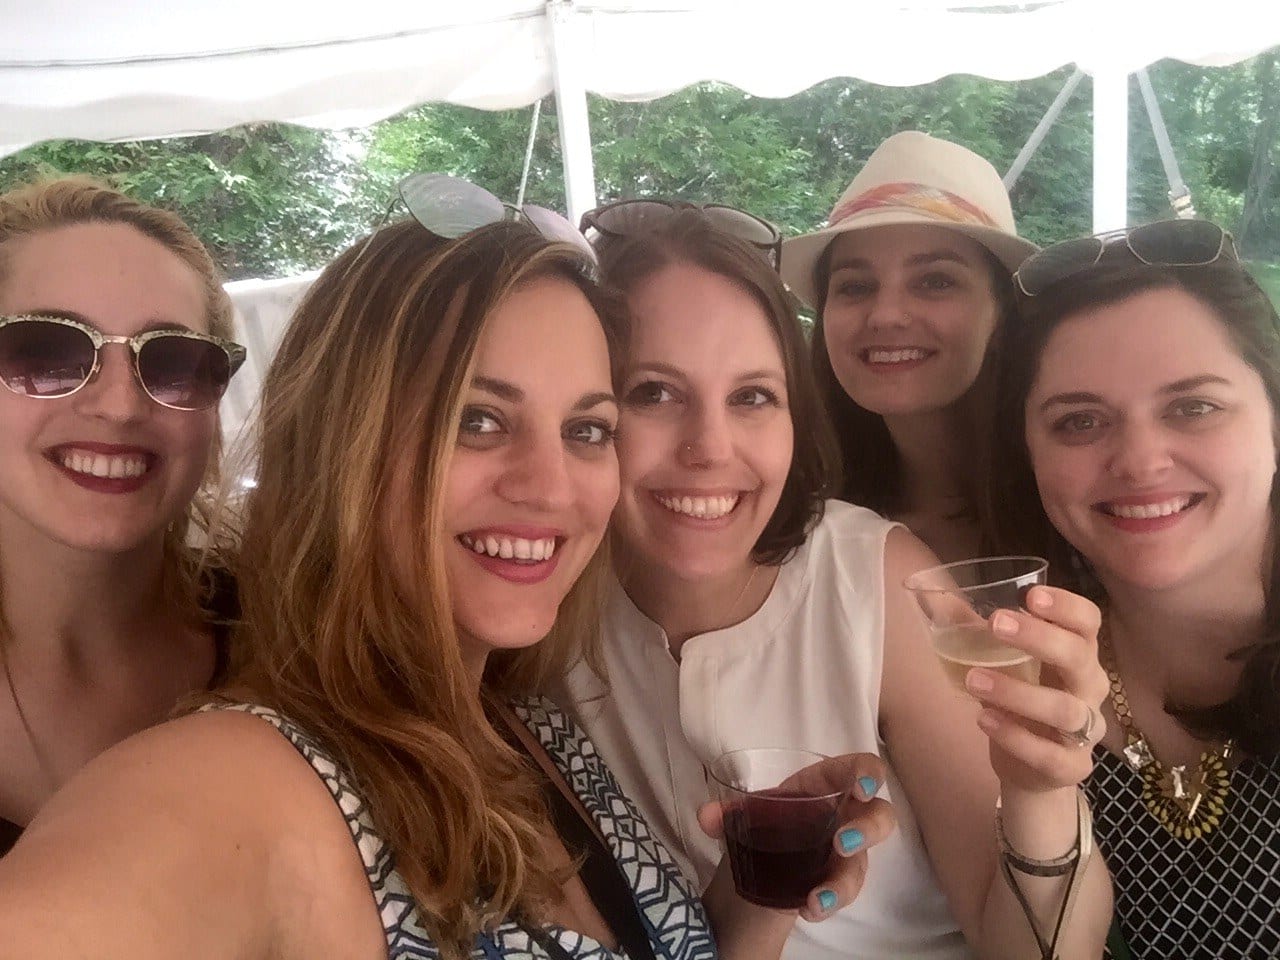
Five of us girls made the trip that day — me and my sister Sarah, our hometown friends Beth and Amy (also sisters), and Colleen, Beth’s close friend from college. Colleen, who lives on Long Island, generously volunteered to pick us up from the train and be our designated driver for the day.
And what a day it was. What I most enjoyed was being out in the country, smelling the fresh air, stopping at farm stands, and sipping wine with my friends as we laughed and told stories. Best of all, it couldn’t have been easier to explore. What a gem the North Fork is!
Here are the highlights of our day, listed from west to east without any backtracking!
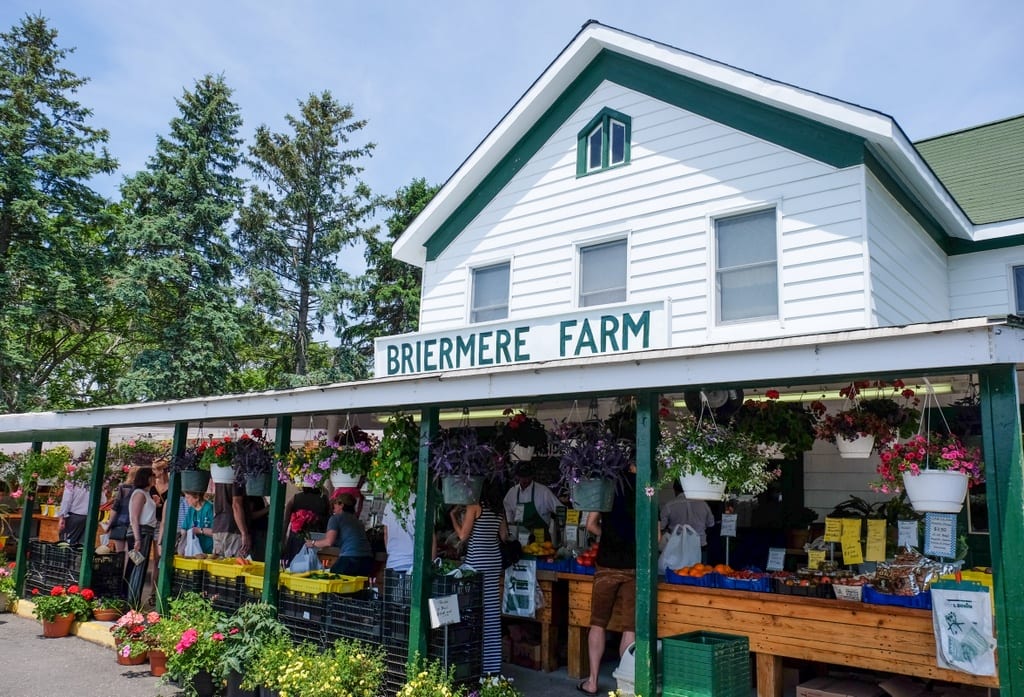
Briermere Farm
“KATE! Are you going to Briermere’s? You need to get a pie!”
I got so much good advice from Long Island readers on Snapchat (you can follow me at adventurouskate!) but the single biggest recommendation wasn’t about wine — it was about pie! This farm stand, famous for their pies, is located in Riverhead, right where Long Island’s forks split in two.


There were so many kinds of pie! I went for my favorite — strawberry rhubarb.
Was it worth the hype? OH, ABSOLUTELY. This may be the best pie I have ever had. It was so tall and bursting with fruit (and probably tons of lard as well, but hey, that’s how you get a flaky crust). I kept inviting friends over for pie, just to hear them marvel at how good it was!
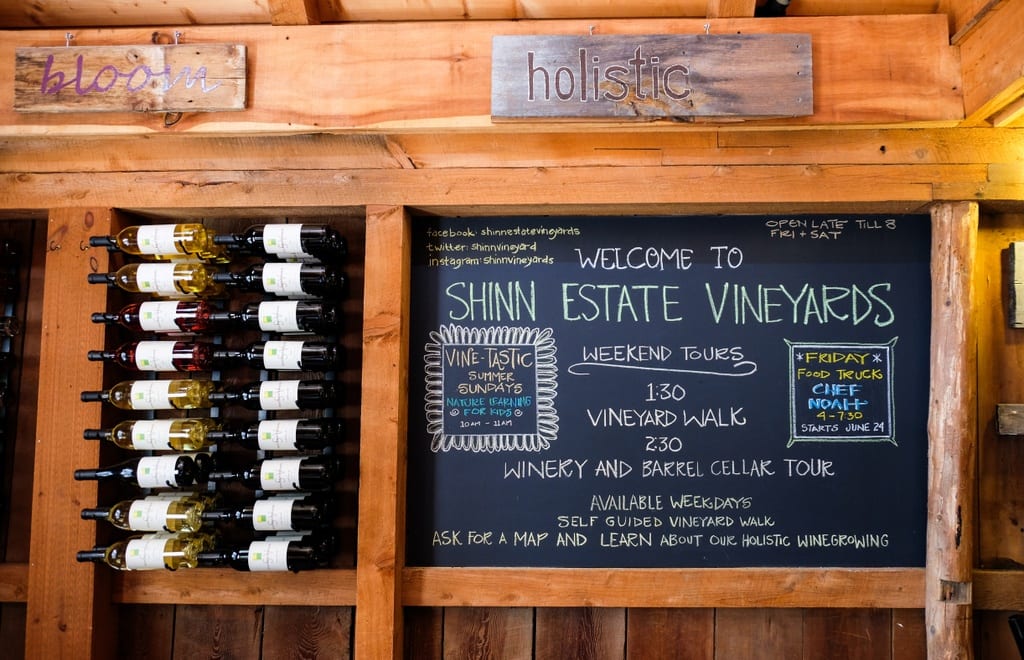
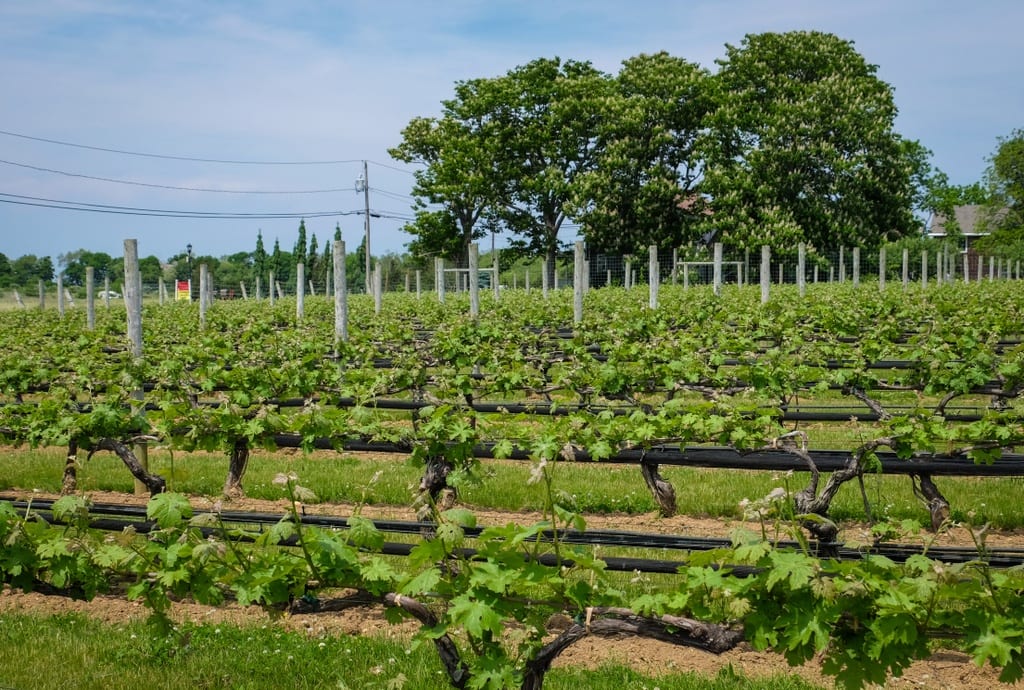
Shinn Estate Vineyards
For our first tasting, we stopped at Shinn Estate Vineyards, a casual, low-key farmhouse with a fragrant garden. This is just the kind of Long Island winery I imagined — rustic and friendly, where we could drink rosé in the sunshine!


We got to choose four wines each, and by the time we passed around all our glasses, I think we sampled almost everything they had available!
The Brut, chardonnay, and cabernet franc are excellent at Shinn. I also loved the wordplay on the “Wild Boar Doe” wine!
Lieb Cellars
Our second stop was Lieb Cellars, a winery that felt a bit more upscale and modern. Feeling the heat, we decided to head indoors for AC and got to enjoy a cool tasting room.
What I liked is that Lieb offers four different tastings of five wines each: a white tasting, a red tasting (which I obviously went for), a reserve red and white tasting, and a director’s cut including hard cider and dessert wine.
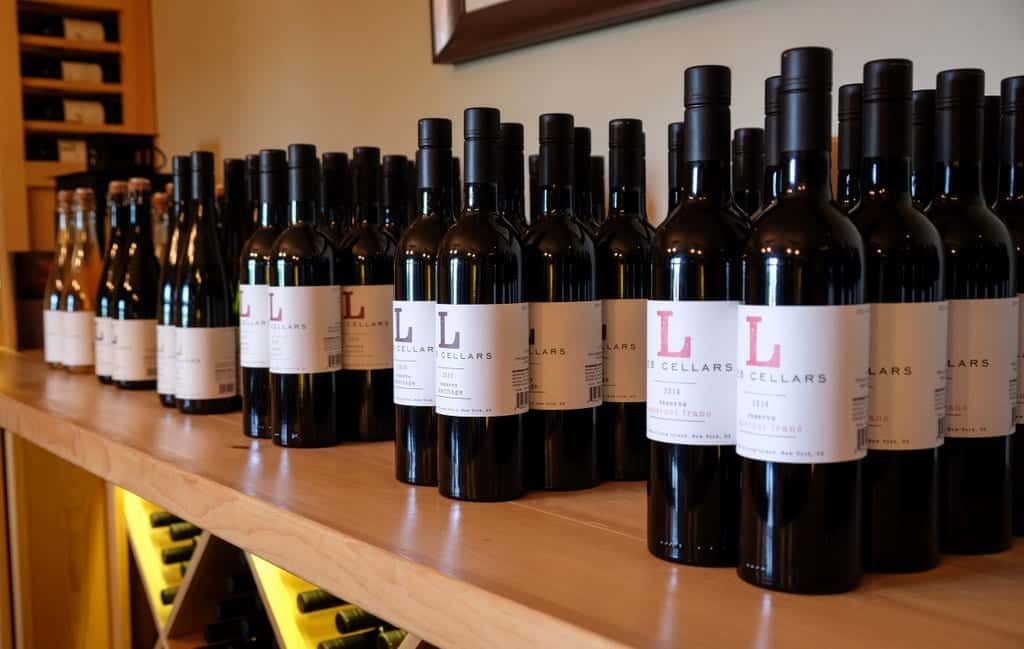

Here we added some snacks to our tastings — some truly delectable olives marinated in oil and lots of rosemary, and a little bit of manchego cheese. I think manchego and dark, spicy red wine is one of my favorite culinary combinations in the world!
The cabernet franc was a standout here. I loved it so much, I bought a bottle! The white merlot was also memorable, as was a peachy sauvignon blanc.
Pugliese Vineyards
“Do you want to stop at Pugliese?” Colleen asked us.
“Puglisi?” my sister and I piped up. Puglisi was the name of our grandfather who immigrated from Sicily. We had to drop in!
Turns out everyone in Long Island pronounces “Pugliese” like “Puglisi” instead of “pu-lee-AY-say” as the Italians do. Not quite an exact fit, but we enjoyed it nonetheless (and Sarah bought a bottle for our mom!).


I’ll be honest — Pugliese’s wines weren’t quite the caliber of the other wines we tasted that day. That said, they had a nice sparkling rosé called Dolce Patricia, and we enjoyed the carefree outdoor atmosphere.
Pugliese is a bring-your-own-food place with lots of picnic tables; if you have kids, I imagine this is a great spot to have them burn off some energy. Plus, at $10, it was the cheapest tasting of the day.
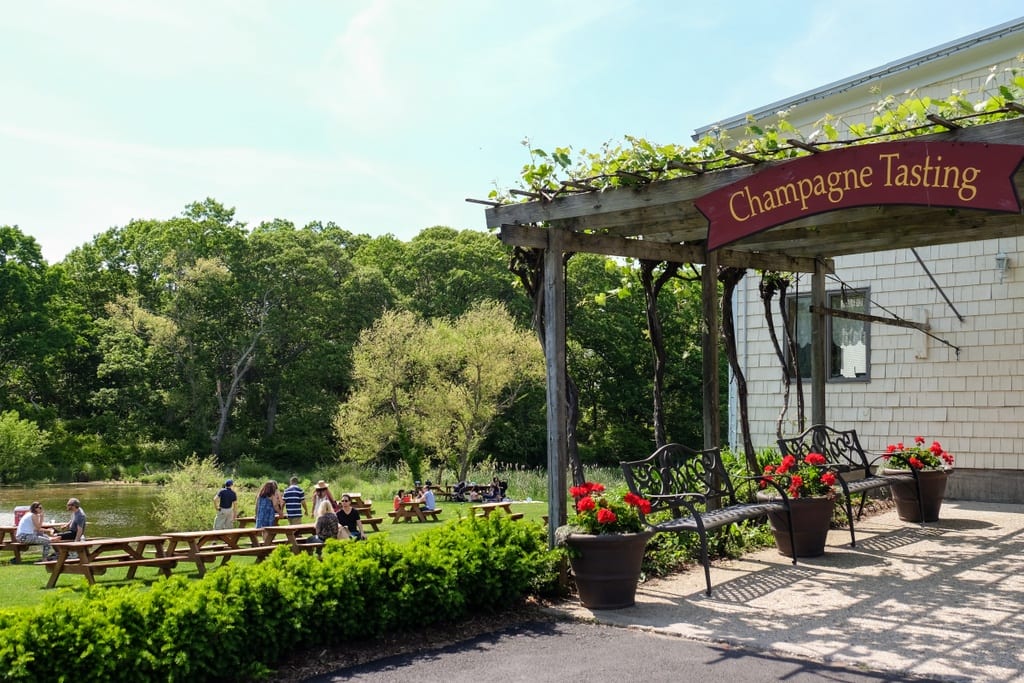
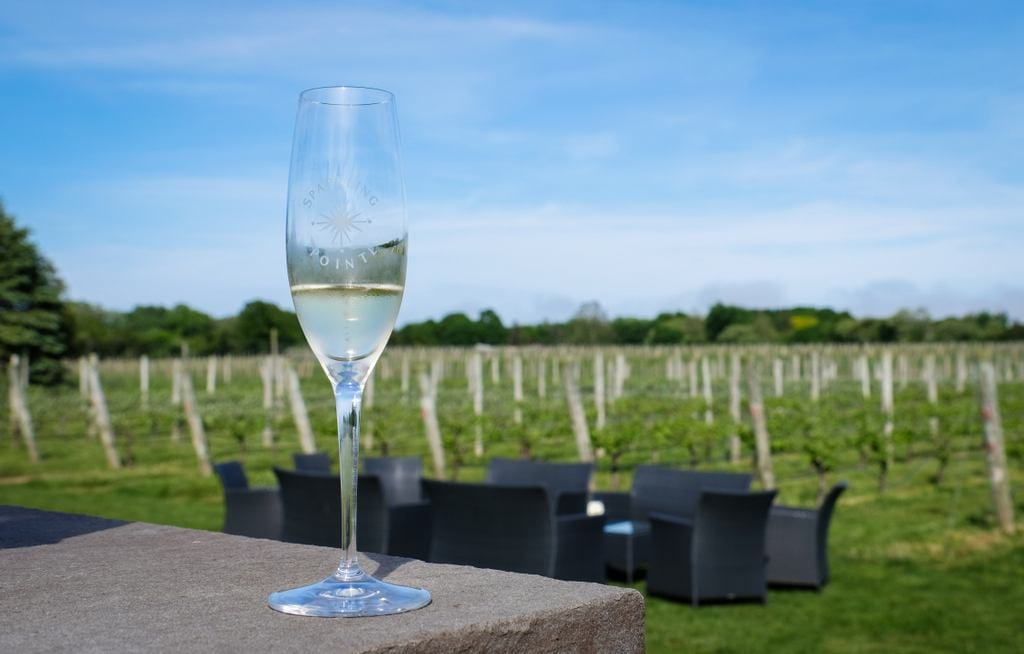
Sparkling Pointe Vineyards and Winery
For something different, we had our final tasting at Sparkling Pointe Vineyards and Winery. This winery specializes in sparkling wines, and it was much larger and fancier — with the price tag to match! This place also felt very stereotypically Long Island. Very loud. Very Italian. Lots of big hair. Lots of big jewelry.
We went for the Grand Tasting Flight here, featuring four sparkling wines, and I thought they were a little bit too similar to each other. That said, it was very different from the rest of the wineries and I’m so glad we stopped in!
Sadly, by the time we left Sparkling Pointe, dark clouds had rolled in. At least I got some good photos along the way!
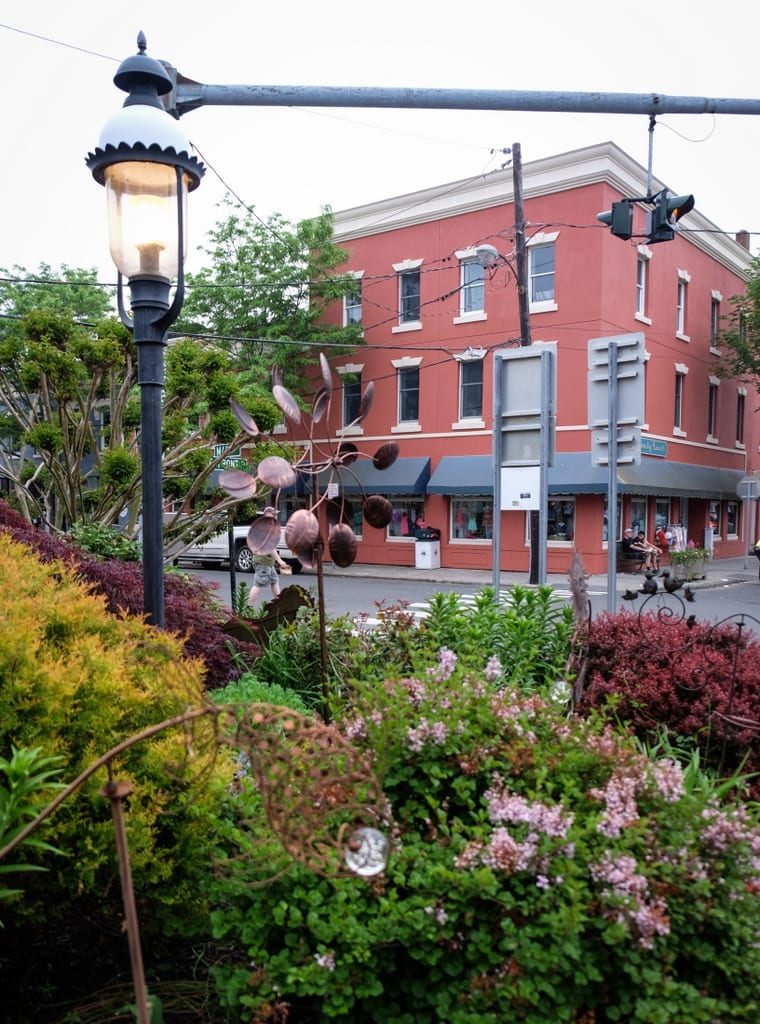
Greenport
Greenport is a small town close to the tip of the North Fork and it’s a good place to walk around, explore, and grab some food. There are lots of shops selling nautical souvenirs and homemade food items.
Greenport felt very much like New England to me — it wouldn’t be out of place on Massachusetts’ North Shore alongside Newburyport, Rockport, and Gloucester.


We stopped for dinner at Noah’s, a farm-to-table restaurant in Greenport and while I didn’t get any photos, everything we had was fantastic. I’m still dreaming of their beet risotto, buffalo cauliflower, and Long Island clam chowder! (Also, this place is great for celiacs. Lots of their dishes are automatically gluten-free, even ones you wouldn’t expect like fried calamari!)
We finished our drive home with Beyoncé’s Lemonade, the two resident Beyoncé superfans singing their hearts out and explaining every lyric as the rest of us grinned and rolled our eyes in the backseat.

The Takeaway
This city girl went to the country for a day and came home with a pie. Could I be more of a stereotype?
This was such a fun day! And coming home laden with cabernet franc, pickled asparagus, and yes, that legendary strawberry rhubarb pie, I felt like I got to relive the trip for several more days. Actually, it’s been a month and I have yet to open the wine! I should do that!
North Fork, I had a great time in you. And I can’t wait to check out your southern sibling next time!
Essential Info: No matter what you do, please use a designated driver when wine tasting. Driving while intoxicated, even a little bit, could easily ruin your life or someone else’s.
If you don’t have a designated driver in your party, check out North Fork Designated Driver, who will drive your own car for you, as well as S&G Limousines if you’d like something more glamorous. Full tours are available from North Fork Wine Tours, Elegant Wine Tours and The Casual Ride. Uber and Lyft are not available on the North Fork.
Don’t be pressured to go tasting at a million different wineries. We enjoyed our leisurely pace and sometimes split the tastings to keep ourselves feeling slightly tipsy rather than heavily intoxicated.
At Shinn Estate Vineyards, you can taste four wines of your choosing for $14.
At Lieb Cellars, there are four different tasting flights of five wines that you can try, ranging from $12 to $20.
At Pugliese Vineyards, you can taste four wines of your choosing for $10.
At Sparkling Pointe, the Grand Tasting Flight is four designated sparkling wines for $20.
To get to the North Fork by train, take the LIRR from New York to Riverhead, Mattituck, Southold, or Greenport. It’s a bit faster to drive.
If you plan on staying overnight, I would recommend basing in Greenport because it’s a walkable town with lots to do. Check out hotels here.

Have you been to the North Fork?
from Adventurous Kate http://www.adventurouskate.com/a-day-trip-to-the-north-fork-of-long-island/